
Free
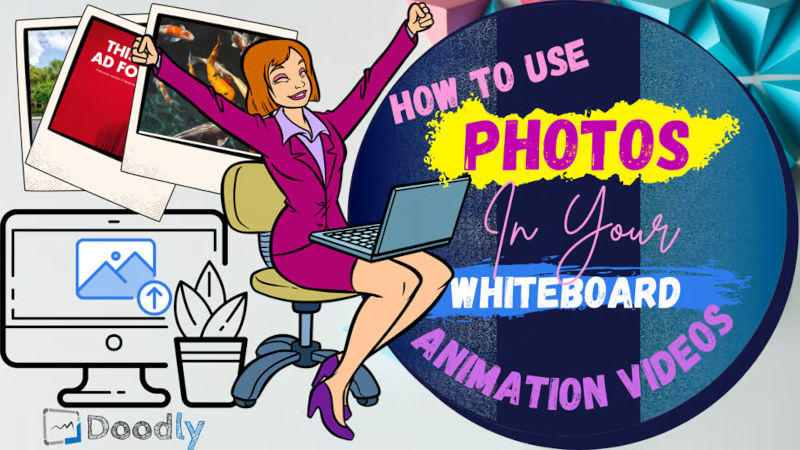
How To Use Photos In Your Whiteboard Animation Videos
Want to take your whiteboard animation videos to the next level? Learn how to seamlessly incorporate photos for a more engaging and dynamic visual experience. Boost your audience’s attention and retention with these simple tips! In today’s fast-paced world, capturing and holding viewers’ attention is crucial. With people easily getting bored and skipping videos, we need to find creative ways to make our content stand out. That’s where whiteboard animation comes in. And with Doodly, you not only get amazing preset assets, but you can also import your own photos, drawings, and illustrations.
Adding photos to your videos is a powerful way to grab attention and quickly convey messages. On the other hand, whiteboard animation like Doodly makes complex topics easy to understand and fun to watch. It eliminates the boring parts of presentations.
By incorporating photos into your whiteboard animations, you’re guaranteed to turn heads and make your videos a hit. But how do you effectively use imported photos in Doodly? That’s what we’ll explore in today’s blog.
The Many Uses of Photos in Doodly Videos
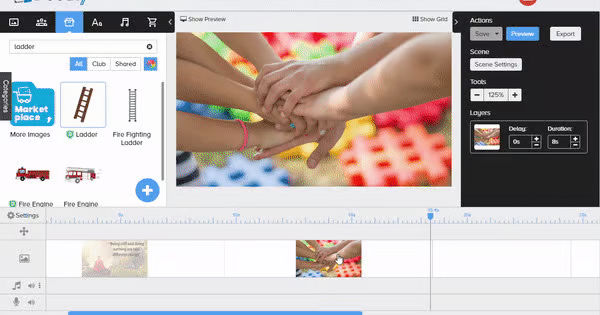
There are several ways you can use photos in your Doodly videos. One common approach is to use a photo as a background in your scenes, without the traditional Doodly elements like characters or drawing hands. Just take a look at these examples:
Sample 1:
Sample 2:
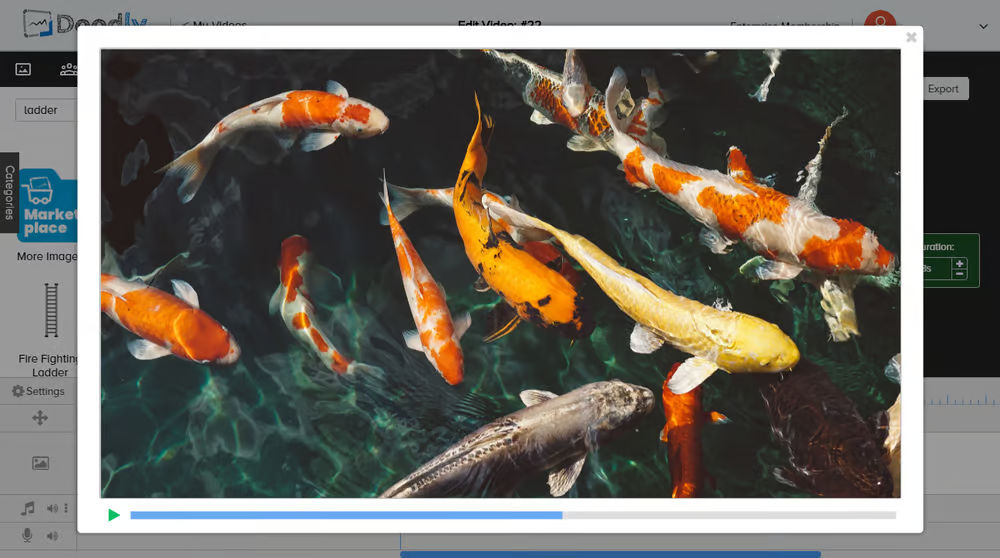
Sample 3:
Sample 4:
Sample 5:
Sample 6:
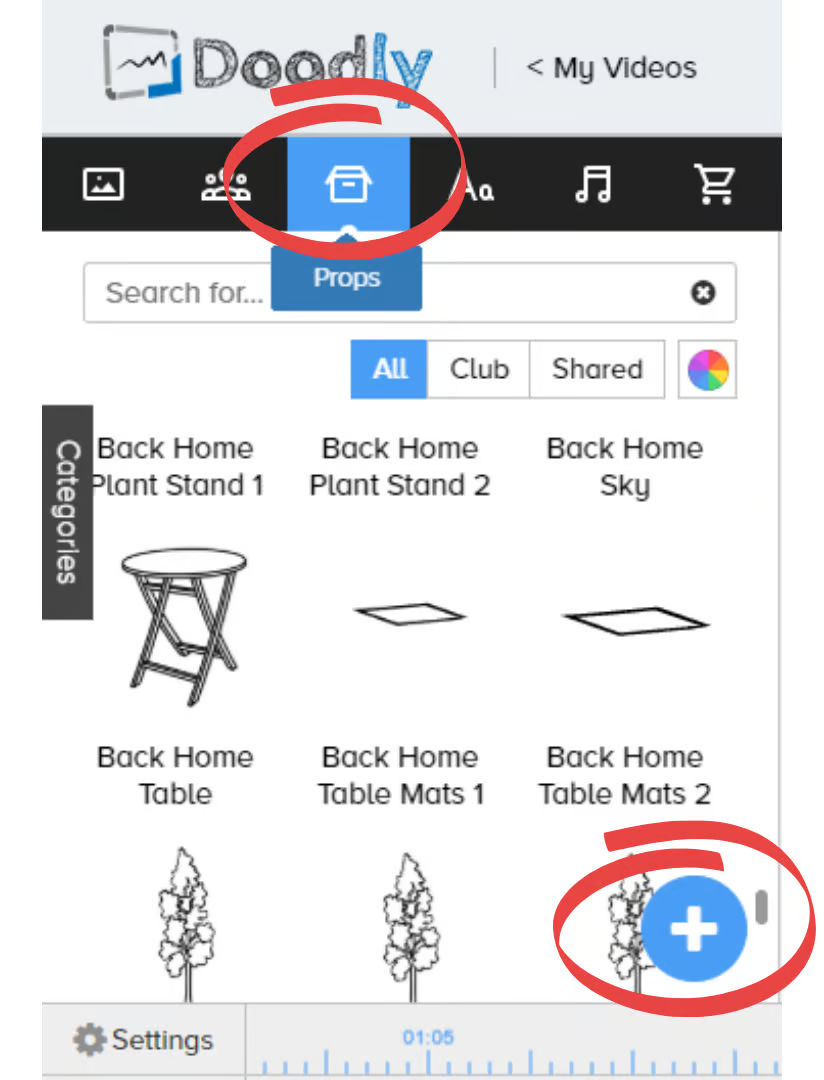
Adding photos to your Doodly project is a breeze. Just follow these simple steps:
1. Open the Assets pane and select Props.
2. Click the blue “+” sign at the bottom for Add new prop.
3. Browse your files and select the photo you want to import from your laptop.
4. Rename the imported photo for easy organization.
5. Your imported photo will appear at the top of your Props list. If you can’t find it, check “My Library.”
Enhancing Photos with the Scribble Effect or Fade Effect
When you import a photo into Doodly, it automatically applies the scribble effect, giving it that classic hand-drawn look. If you prefer a different effect, like fading in the image, you have a couple of options.
Option 1: Draw Paths
You can create your own draw paths, but keep in mind that it can be time-consuming, especially for detailed images. If you’re short on time or patience, try the fade effect instead.
Option 2: Fade Effect
The fade effect is a handy feature in Doodly that adds a smooth transition to your photos. To use it:
1. Select your photo and click the pencil icon.
2. Under Reveal Paths, choose “Fade” from the dropdown menu.
3. Adjust the animation duration for the drawing or fading effect. The default is 3 seconds.
4. Save your changes by clicking “Save & return” (make sure the button turns green).
Now you can make your photos shine in your Doodly videos with either the scribble effect or the fade effect. Experiment and find the style that suits your content best.
With the power of Doodly and the addition of photos, your whiteboard animation videos will captivate viewers and leave a lasting impression. So, get creative and start making your videos pop with visuals that grab attention!
Make Your Quotes Stand Out with Opacity
When it comes to showcasing inspiring quotes, you want to make sure your photo doesn’t overpower the text. By reducing the opacity of your photo, you create a nice ambiance that allows your words to shine.
Don’t worry, the decision to adjust the opacity is completely up to you. If you think it will enhance your image, go ahead and add that opacity effect.
Here’s how to do it:
1. Select the photo you want to adjust and click the gear icon.
2. Lower the opacity setting for your photo.
There’s no set percentage for reducing opacity, just choose what looks good to you. In our example, we used 70% opacity.
Get Rid of the Erase Feature
Have you noticed the hand erasing your image before drawing it? It may not be the look you’re going for. If you want to disable this erase feature, here’s how:
1. Go to Video Settings.
2. Under Erase mode, select “Off”.
3. Remember to hit “Apply” after making changes.
Get Creative with Photo Placement
While fullscreen images are great, you can also add a frame to your photos and position them off to the side. Adding a frame blends the realism of the photo into a whiteboard style, perfect for tutorial videos with screenshots. You can also incorporate the image with other props like computers, tablets, or smartphones.
Here are three ways to add frames to your photos:
1. Use Doodly’s existing frames and props like TVs, laptops, and desktops.
2. Import frames and gadget frames into Doodly. For example, if you’re creating an online course ad, you can add an image of your course inside a laptop or desktop.
3. Use a third-party app or website that offers smartmockups for images.
Get Inspired with Examples
Check out these examples:
[Include examples of different photo uses]
That’s it!
You now have all the tips you need to effectively use your imported photos in Doodly. Remember, don’t just settle for using your image as a background. Get creative and have fun with it! Until next time!


