

Free
How to Create a Thank You Message in Doodly
Welcome to Doodly! With Doodly, you can create captivating videos to explain any concept, no matter your niche. Use it for short ads, explainer videos, and even thank-you messages for your customers. In today’s blog, we’ll show you how to create a thank-you video using Doodly.
So when’s the perfect time to use Doodly for a thank-you video? One example is right after a customer makes a purchase. Let’s say someone downloads your app – you can send them a thank-you message right away. But instead of just saying thanks, why not include a helpful walkthrough video to get them started? Doodly is perfect because you can use the hand animation to represent the taps and swipes your customers will make in the app. You can even include your contact information in the video, making it easy for customers to reach out with questions or support requests. Or, you can showcase the main features of your app in a short video.
To start creating your thank-you message in Doodly, you have two options: work on the scenes first or record the voice-over first. Today, we’ll begin by recording the voice-over. Let’s get started!
Recording Your Voice-Over
The first step is to choose a board style and resolution. We’ll go with “whiteboard” and a 1080p resolution.
Once you hit Create, you’ll be taken to the Edit Video page. You’ll see your first scene, which is currently blank. Since we’re working on the voice-over first, let’s move to the timeline at the bottom of the screen.
Click the “+” sign next to the microphone icon to start recording. For the best sound quality, we recommend using an external microphone with noise reduction.
Now that we have our voice-over for the first scene, it’s time to add characters, props, and text.
FIRST SCENE
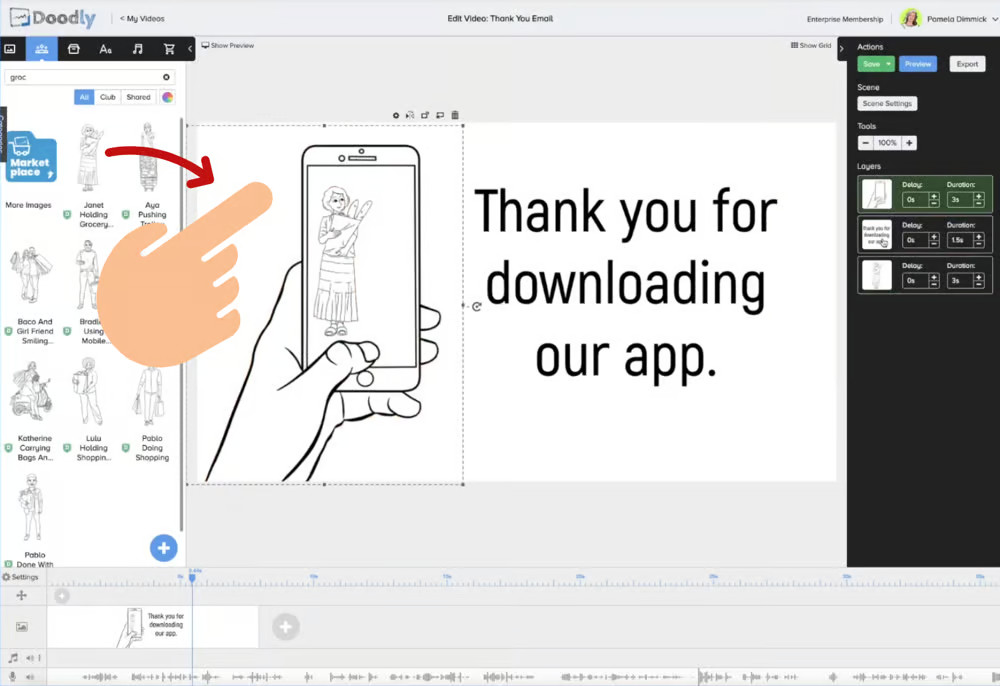
To start, let’s add all the props we need. Since we’re focusing on downloading a phone app, we’ll search for an image of a mobile phone.
Add Props
Go to the Props tab and search for “phone.” We found a great image of a hand holding a phone that fits perfectly with our video. We also added a picture of a lady carrying groceries.
If you have a brand logo or want to showcase your app’s interface, you can upload a snapshot to Doodly and place it inside the cellphone prop.
Add Text
Next, let’s add text. For our sample video, we used the font style Akrobat-Semibold. If you can’t find it in Doodly’s list, you can download it from Google Fonts or choose a different font style. There are plenty of options available, so find the one that suits your video best.
Arrange Layers
Arranging layers is crucial to ensure that assets aren’t covered by each other. In our scenario, we want the text to appear first, followed by the hand holding the phone, and finally, the lady with groceries.
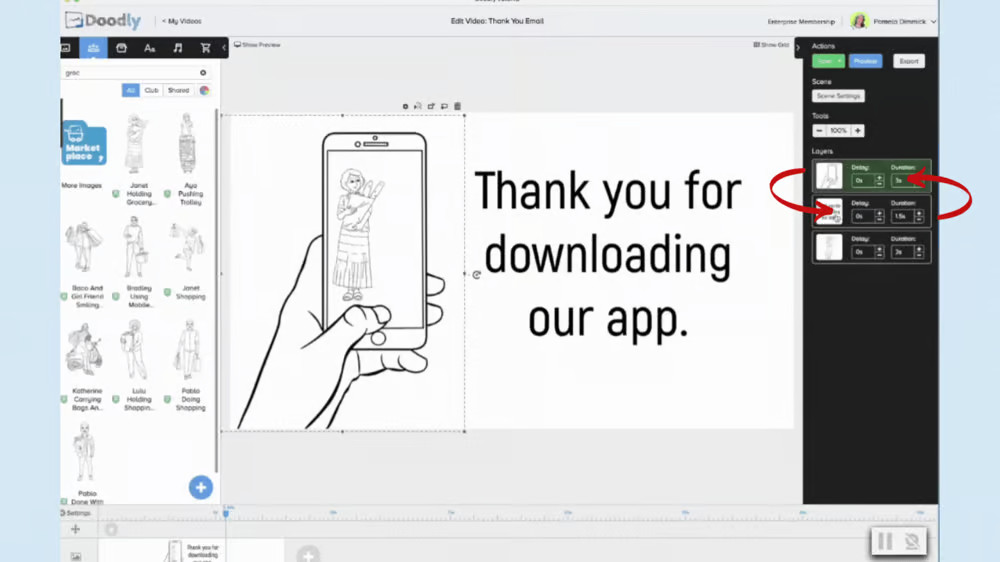
Adjust Animation Duration
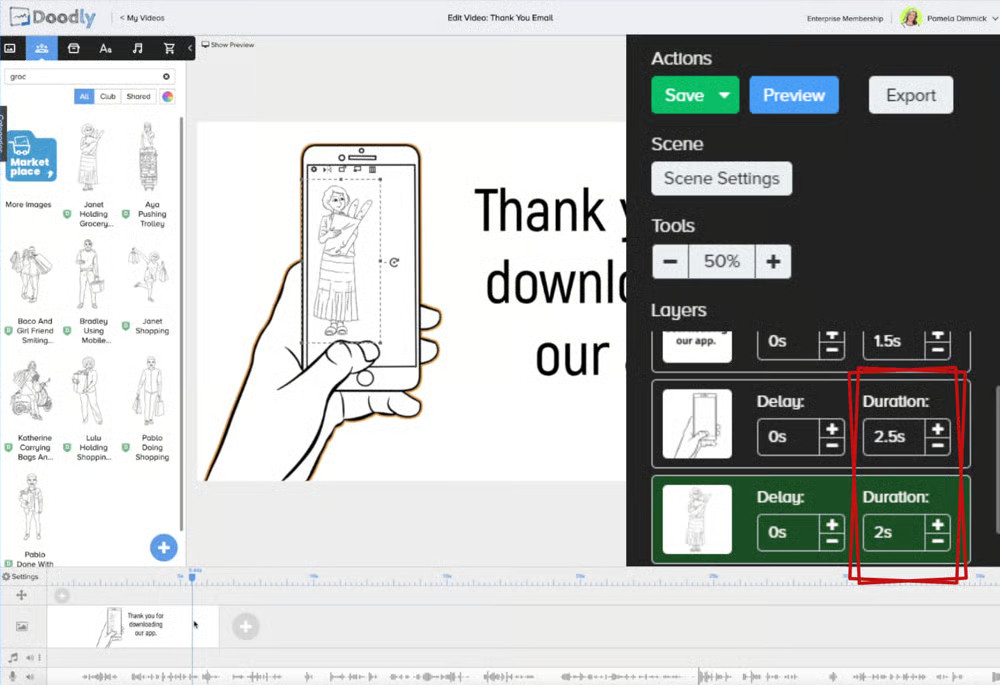
The default animation duration is 3 seconds, but you can customize it to match your preferences. Simply adjust the animation duration for each asset – make it shorter if needed.
Add New Scene
Now that we’re done with the first scene, let’s move on to the second scene. Click the “+” sign next to the first scene in the timeline.
SECOND SCENE

Add Assets
In the second scene, we’ll add a new set of assets. This time, we’ll use a phone image without a hand holding it.
Setting Up the Exit Animation
To begin, let’s turn off the exit animation. You can find this feature in the scene settings, which is located on the right side of your screen, just above the layers menu.
Duplicating the Scene
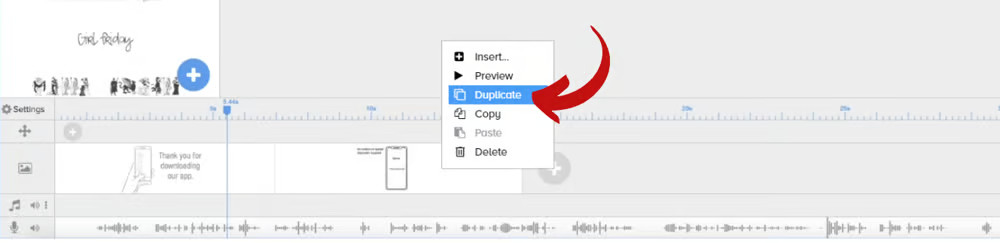
After adding all the assets and turning off the exit animation, we can now duplicate the second scene.
Creating the Third Scene
In the third scene, we’ll erase both texts inside the phone by setting their exit animation to ERASE for 0.5 seconds. To do this, simply select the text, click the gear icon that appears above it, and adjust the settings in the asset menu.
Adjusting Animation Duration
To ensure smooth transitions, we need to set the animation duration for all assets in the third scene to zero.
Duplicating the Third Scene
With the exit animation and layers set, we’re ready to duplicate the third scene.
Preparing the Fourth Scene
In the fourth scene, delete the texts “name” and “password” and replace them with a new set of text.
Adding New Assets
Next, let’s add an image of a “pinned note” from the Props tab. Make the first pinned note smaller, place it inside the mobile phone, and ensure it has no delay or animation set.
After adding the first note, copy and paste it into the scene. Place the duplicate on top of the first note, making it slightly larger. Set a delay of 0.2 seconds and a duration of 0 seconds for the second note.
Repeat this process, duplicating each note and making it slightly larger than the previous one. Arrange them on top of each other from smallest to biggest. This will create the illusion of a “pinned note” popping out of the phone when the video plays.
Adding Text and Adjusting Timing
After adding the layers of pinned notes, place text on top of the last note, which is the largest among the duplicated images. Then, adjust the timing of each scene to synchronize with the voice-over.
Fixing Timing Issues
To fix syncing issues, update the settings for extra time at the end and add delays between assets in the Layers panel.
Including Background Music
Now that our scenes and voice-over are synchronized, it’s time to add background music.
Follow these steps:
- From the assets panel, go to the Sounds tab and browse the music tracks.
- Filter for music only by selecting the Music category.
- Preview the available music tracks by clicking the play button.
- Once you’ve found the right track, drag it to your timeline beside the music row.
Adjusting Volume
To ensure your voice-over is clear and not overpowered by the background music, click the volume icon next to the music image in the timeline and set it to less than 20%. Preview your video to confirm the volume levels.
We’re Done!
Congratulations, we’ve completed our thank-you message! You can send this personalized video to your customers via email after downloading your app. Feel free to customize it further with your own logo, images, or music track. Take a look at our finished video and enjoy doodling!


