
Free
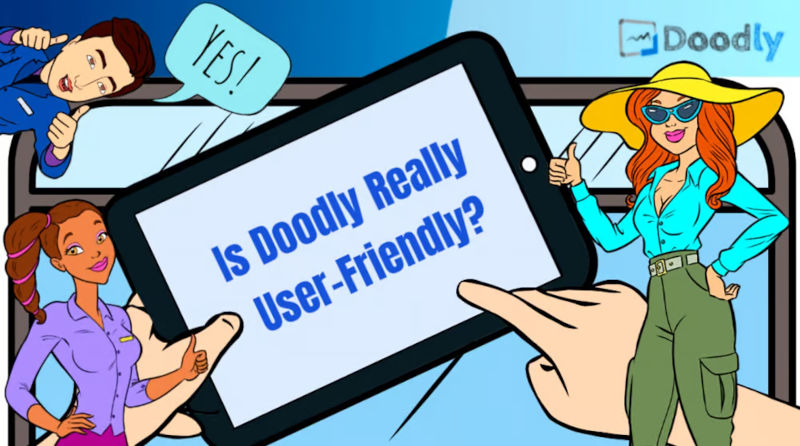
Is Doodly Really User-Friendly?
Looking for an easy-to-use video editing software? Look no further than Doodly! Users rave about its user-friendly interface and how even first-time users can navigate it without any hassle. If you’re unsure whether to give it a try, especially if you don’t have video editing skills, we understand. Not everyone has the time to learn a new skill or deal with complicated software. But with Doodly, that’s not a problem.
One of the key factors that makes Doodly so user-friendly is its interface. In this article, we’ll take a closer look at Doodly’s interface, including the function of each icon, to help you better understand and navigate the software.
Doodly At First Glance
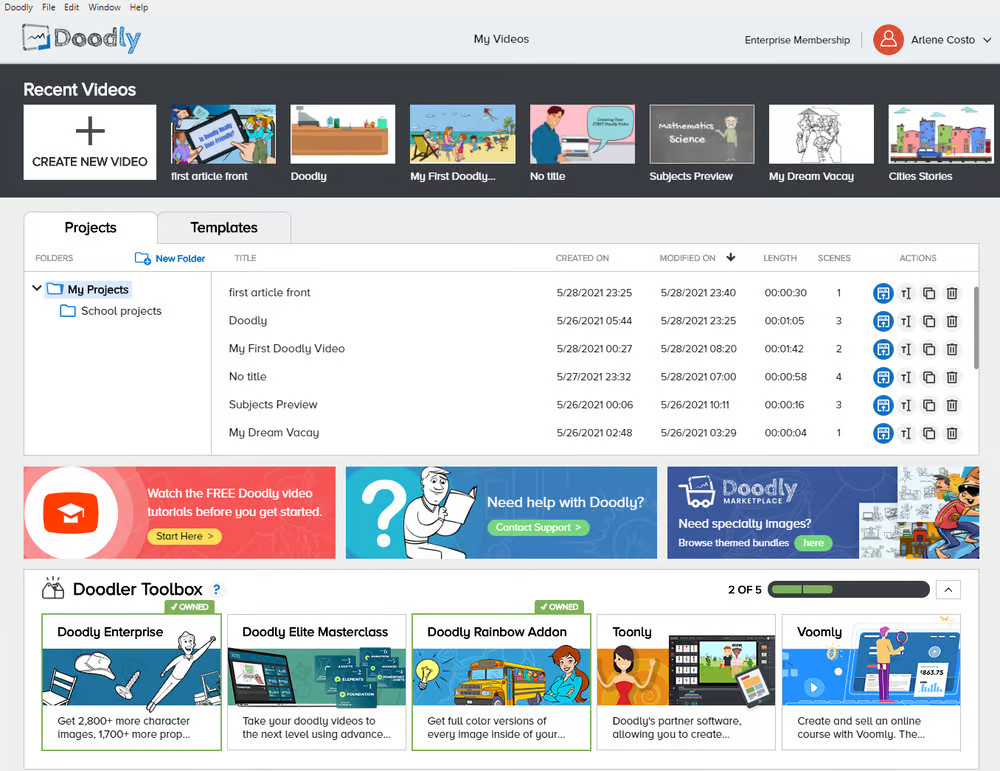
When you log in to Doodly, you’ll be greeted by the My Videos page.
This page serves as a dashboard and lists all of your Doodly projects, along with some available resources.
Dashboard
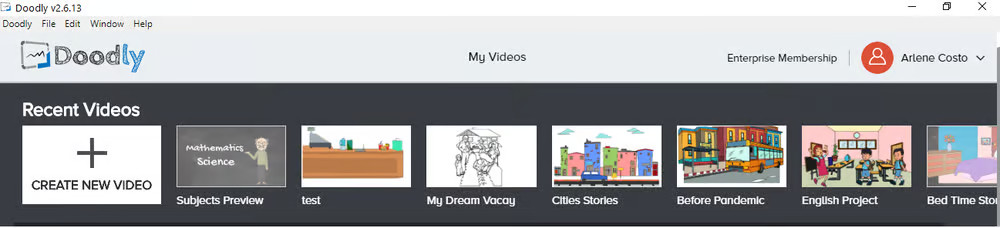
The top portion of the dashboard displays thumbnails of your most recent videos.
Clicking on a thumbnail will immediately take you to the “Edit Video” page where you can modify and make changes to your video.
You can also easily create a new video from this view.
The middle portion of the dashboard has two tabs: Projects and Templates.
The Projects Tab displays all your folders, as well as the title, creation date, modification date, length, and number of scenes used for each video. It also provides helpful actions such as opening, renaming, duplicating, and deleting videos.
If you right-click on a video, you’ll see the same actions menu for convenient access.
The duplicate option is especially handy when creating a similar video theme. You don’t have to start from scratch – just duplicate and modify the video to your liking. It’s like having a base or template to work with!
Now, let’s explore the Templates tab.
On this tab, you’ll find free templates organized by category. These templates are included in your package.
Categories include Development, Events, Explainers, Holidays, Industries, Internal comms, Marketing, Sales, Social media, and Training.
You’ll also see any templates you’ve purchased.
Can’t find the perfect template? Head to the marketplace where you’ll find a wide selection to choose from!
Towards the bottom, you’ll find links to access video tutorials, contact customer support, and browse and purchase additional Doodly images from the marketplace.
At the very bottom, you’ll see the Doodler Toolbox, which showcases other products that fellow Doodlers enjoy. If any catch your interest, simply click on them to be directed to the signup page.
Ready to create your own video? Just click the “Create New Video” menu at the top right-side of the dashboard.
This will open a screen where you can select the board style, give your video a catchy title, and choose the resolution. Don’t worry if you’re unsure about any of these settings – you can always go back and change them later.
Now, let’s dive into the Edit Video view and explore its menus and functions.
Asset Panel
Located on the left side of the Edit Video view is the Asset Panel.
Here, you’ll find all the different parts and components that make up your whiteboard video – scenes, characters, props, text, sounds, and the marketplace.
The Categories menu organizes these items based on category type.
The Club tab contains items for enterprise users, with new images added every month.
Shared items are assets that you may have shared with other users. The little beach ball next to the shared menu turns the Doodly rainbow feature on and off if it’s included in your package.
Adding Characters To Your Video
To create a video, you’ll need scenes and characters. There are two ways to place assets in your video – drag and drop or double click.
Once assets are in place, you can easily move them, adjust their size, and align them to your liking.
The Grid
Doodly offers a grid feature that helps with alignment. This is especially useful when adjusting the distance between assets in your project. You can keep the grid on while working on your video or hide it if you prefer.
The Timeline
The timeline consists of multiple tracks, including pan and zoom, video, music, and voice-over.
Let’s explore each of these tracks, starting with the pan and zoom track.
Introducing the #Pan and Zoom Track
When you’re ready to focus and direct your camera in your scenes, the pan and zoom feature is your go-to tool. Set all your characters, then simply click the + sign on the pan & zoom settings within the timeline to enable this function and make your camera move and focus where you want it to be.
Video Track
The video track is where your project comes to life. Want to add a new scene? Just click the + sign next to the last scene on your video track. A whiteboard will appear, ready for you to unleash your creativity. Simply drag and drop your assets onto the canvas and get ready to modify them to perfection.
Sounds Track
Enjoy a vast library of royalty-free music to enhance your videos. In the Sounds menu, browse through the selection, listen to samples, and choose the perfect sound to bring your content to life. You can also upload your own background music to truly personalize your videos.
Voice-over Track
Record your own voice while your video plays with the voice-over track. Simply click the + sign on the voice-over track and start talking. Easily move the recording within the track to ensure seamless voice syncing. It’s never been easier to add your own personal touch to your videos.
Video Settings
In the timeline, you’ll find the Video Settings section packed with incredible features to truly personalize your Doodly video. Let’s take a closer look at each menu.
Welcome to the Tools Menu!
Here, you can easily customize the size of your canvas to fit your personal preferences.
Introducing the Layers Menu!
With the Layers menu, you have full control over the timing of your items. Add a delay to make an item start drawing after a specific amount of time, and set the duration for how long it takes for the hand to complete the drawing.
And the best part? As you adjust the timing, the changes are immediately shown on the timeline.
Maximize Your Editing View
If you want more room for your canvas, simply click the arrows to hide both panels. They’ll be there when you need them, but out of the way when you don’t.
Hey there! Did you notice the two types of previews on our platform? We’ve got a full-screen preview up in the top right corner, and a smaller preview in the top left corner that shrinks down the image.
To check out your video and review any changes you’ve made to each scene, just click on the Preview button in the top right corner.
Oh, and don’t miss the Show/Hide Preview option! It’s pretty handy. When you use it, you’ll get two views: the left view lets you play your scene right away after making changes, and the right view is where you can edit your scene.
Hey there! Let’s talk about your account information.
If you look in the upper right-hand corner of the screen, you’ll see a link to access your account details. Super handy, right? And if you ever need to log out, just click on the Logout option right there too.
Now, in the middle of the screen, you’ll find the title of your current video. It’s totally customizable – just click on it and start typing to change it to something that suits you better.
Oh, and if you ever want to go back to your dashboard, just click on “My Videos” and you’ll be there in a jiffy.
Hope that helps! Let me know if you have any other questions.🙂


