
Free
How to Crop Objects in Doodly
Welcome to the world of whiteboard animation! Have you ever wondered how to make sure your audience stays engaged? Well, one key element is the assets you use in your animation. But it’s not just about choosing the right assets – it’s also about placing them correctly within your scenes. You need to find the perfect angle and proportion for each image.
Sometimes, you may only want to use a specific part of an asset. Instead of importing a new one, why not use your existing asset? It adds consistency to your theme. The only problem is, Doodly doesn’t have a built-in image cropping feature. So how do we go about cropping an image in Doodly? Don’t worry, I’ll show you a clever technique to get the job done.
“Cropping” simply means removing certain parts of an image, usually the edges. It’s a basic photo editing method that adds visual interest to your image. Plus, it’s super easy to do!
We crop an image for various reasons:
– To change the size or aspect ratio of the image
– To remove irrelevant parts
– To improve the overall composition of the photo
– To focus on specific portions, ensuring a clear message for your audience
These are just a few examples of why cropping an image is essential.
Now, let’s see how we can crop images in Doodly. Take a look at these characters from Doodly. You might remember them differently because we’ve cropped them. Let’s compare them side by side with their original photo and see the magic of cropping.
There are three ways to crop an image in Doodly:
A. Take a snapshot, crop, and import
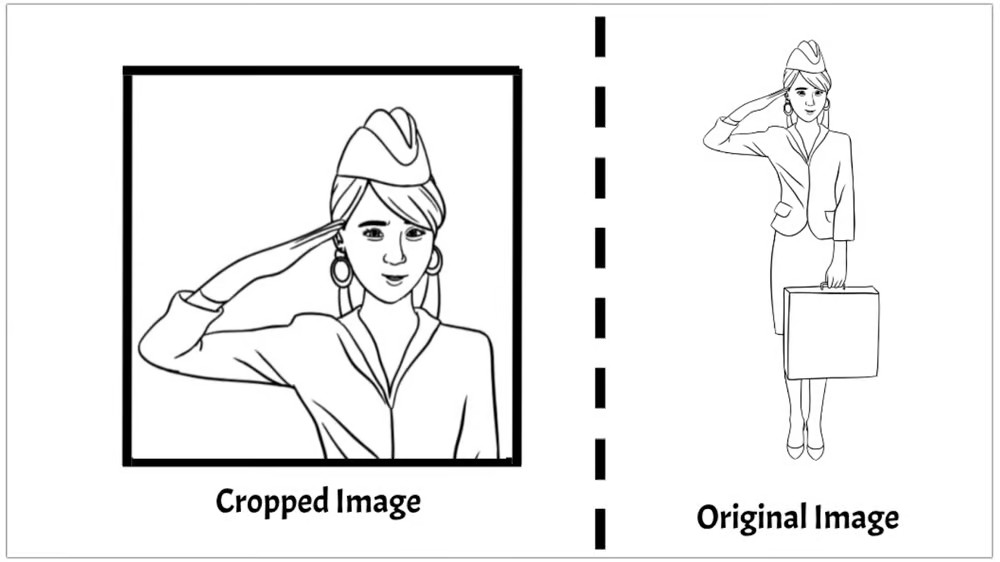
For example, let’s use the character Aya. We love her salute gesture, but we don’t need her entire outfit or briefcase. We just want her face and hand doing the salute inside a frame. To achieve that, we’ll use the “snapshot and import” technique.
Here’s how it works:
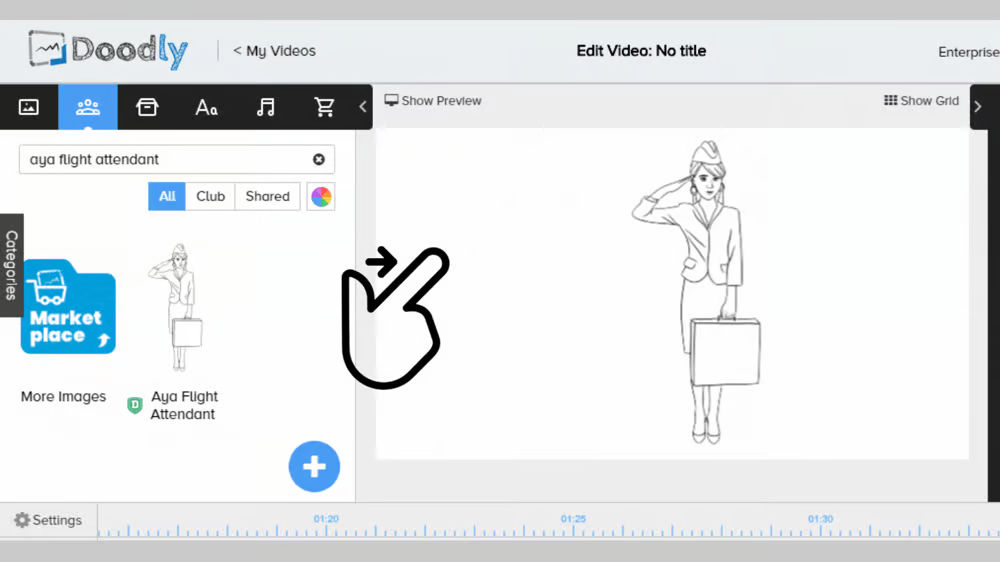
1. Drag the character you want into your scene.
2. Enlarge the character to ensure a clear snapshot. The bigger, the better!
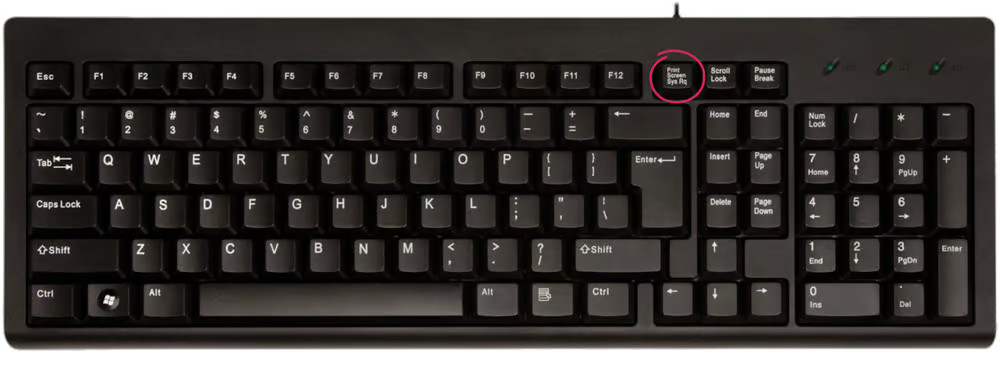
3. Click the Preview icon in the Actions menu and take a snapshot. Mac users can press Shift + Command + 4, while Windows users can press the PrtSc key on their keyboard.
4. Save the screenshot on your computer and import it to Doodly. Remember to rename it for easy access.
5. Use the frame or square box props in Doodly for your frame. If the square box doesn’t fit your image, you can use the horizontal line under the Props tab to create a custom frame.
But wait, since this is a new image, the hand will scribble it diagonally when drawn. So, we need to create draw paths for the hand to follow. Simply click the pencil icon and place dots along the character’s draw lines.
B. Increase the image size
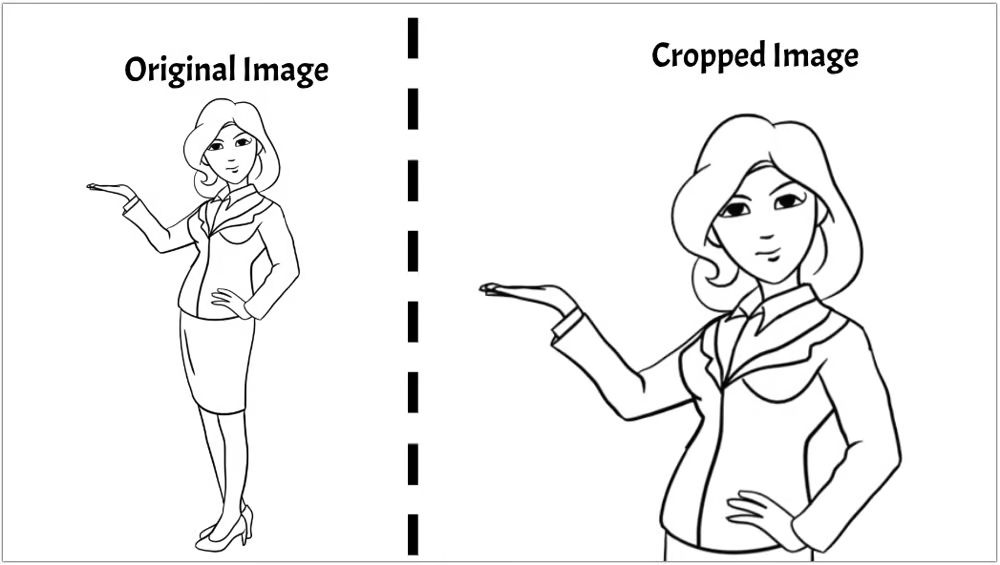
Now, let’s talk about our second image. We want a confident female character in business attire, presenting something. Agatha’s manager character fits the bill perfectly. Instead of cropping her image, we’ll simply increase her size and position her on the screen. Who said everything has to be set at default size?
Increasing the size of an image is the easiest way to crop an asset in Doodly. Just keep in mind that if you want the hand to draw the image, it will draw the entire image of Agatha, including the parts off-camera. It’s usually not noticeable when watching the video, but remember to preview your scenes before exporting to make any necessary adjustments.
C. How to Make an Image Invisible in Doodly
Hey there! We have a cool trick to share with you on how to make an image look invisible in Doodly. Let’s dive right in!
Step 1: Choose a character from the assets panel and drag it onto the scene.
Step 2: Position the character where you want it and adjust the size to your liking.
Step 3: Now, here comes the fun part. Find an object that can cover the legs of the character. We used a square, but you can use a circle or oval if your character has curves.
Step 4: Place the square object over the part you want to hide, resize it, and change its color to white. Make sure the color matches your background to create the invisibility effect.
Step 5: Move your character to where you want it in the scene.
Step 6: Set the draw duration to zero for both the character and props. This way, the hidden part won’t be revealed when the animation is played.
That’s it! You’ve mastered the art of cropping an image in Doodly. But wait, there’s more!
You can also enhance your photo by adding transparency to the cropped image or adding a catchy caption.
Or, if you want to remove a portion of an object, just crop it out.
We hope you found this tutorial helpful and fun. These workarounds are super easy to do, so feel free to try them out in your projects. And guess what? Doodly might even add a cropping feature in the future. We can’t wait for that! But for now, enjoy experimenting with the techniques we shared today. Until next time! 🙂


