
Free
DIY Gender Reveal: How to Use DOODLY to Create Your Own Announcement Video
Looking to announce your baby’s gender in a fun and creative way? Look no further than Doodly! Creating a gender reveal video with Doodly is not only exciting, but it’s also a memorable way to share this special news with your loved ones.
When creating your gender reveal video, keep it short and sweet. Aim for around 20-30 seconds to build anticipation while still getting to the point quickly.
While the traditional colors of pink for girls and blue for boys are popular, gender neutrality is also on the rise. If you’re raising your child without gender-specific expectations, use this video as an opportunity to educate your friends and family. Today, we’ll focus on the traditional pink and blue options and how they can be incorporated into a Doodly video.
Let’s start with the most important element of your video – the pregnant character. You have a few options for obtaining a pregnant character:
1. Use a character from the Doodly library. Simply search for “pregnant” and choose from dozens of images available with the enterprise version.
2. Search the internet for a pregnant cartoon character that matches your style. Look for illustrations or vector graphics on stock image websites or consider hiring a freelance illustrator for a custom character.
3. Upload a photo of yourself and your partner to personalize your video even more. This will make it relatable and meaningful to your friends and family.
4. Include your baby’s sonogram image for an emotional and sentimental touch. Use it as a reveal moment to show the gender of the baby.
If you’re expecting twins, you can incorporate this exciting news into your gender reveal video as well. Use photos or creative graphics to indicate that you’re having a boy and a girl.
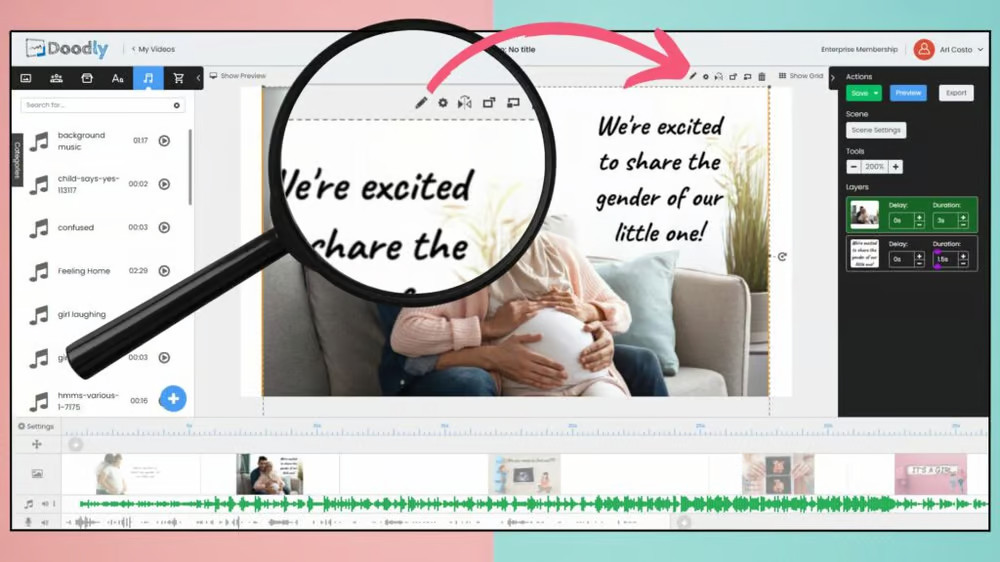
Once you have your characters and images ready, it’s time to add text to convey your message. Use phrases like “We’re excited to share the gender of our little one!” or “Are you ready to find out?” Pair these text animations with relevant visuals for an exciting and captivating video.
Get Stylish with Animations and Effects!
Now that you have your assets and scenes set up, it’s time to bring them to life with some awesome animations. In this video, we’ll show you how to add anticipation to your visuals using a variety of effects.
1 – Add a Photo Fade Effect.
Let’s start with the first scene and spice things up with a photo fade effect. Instead of the usual scribbles, we’ll make the photo appear gradually. Here’s how:
Step 1 – Select the asset you want to animate. A menu with various icons will appear at the top.
Step 2 – Click the pencil icon, which is the first icon in the menu.
Step 3 – The Edit Asset view will pop up, where you can modify the action properties of the image. You can choose to fade or draw the image based on your preference.
Step 4 – Once you’re happy with the changes, click “Save and Return” to save your adjustments and go back to the previous screen.
2 – Achieve a Photo Zoom Effect.
In the second scene, let’s create a captivating photo zoom effect. We’ll focus on the sonogram and slowly zoom out at the start of the video. Follow these steps:
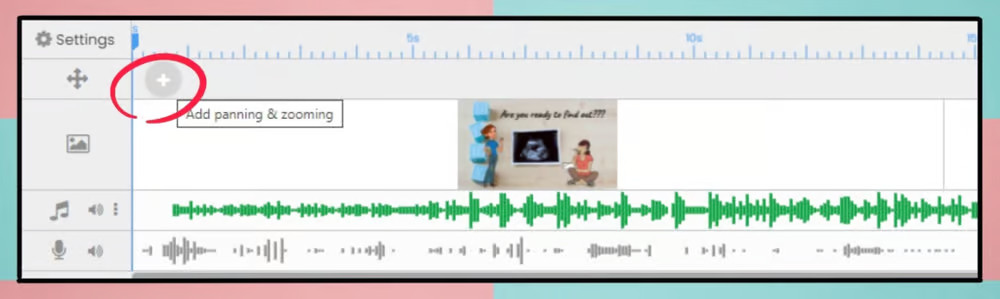
Step 1 – Click the “plus” icon on the lower-left corner of the screen to add the fx option to the timeline. Drag it to the desired location.
Step 2 – Open the “Pan and Zoom Settings” by clicking the fx bar.
Step 3 – Configure the start and end frames for your initial scene. Make sure to include only the sonogram at the beginning and then expand to the full screen.
Step 4 – Don’t forget to hit Apply to save your changes. If you need more guidance, check out our blog post on “How Does Pan & Zoom FX Work?”.
3 – Customize Your Hand Style.
Doodly allows you to personalize your video even further by choosing a hand style. Simply click the “Video Settings” button in the bottom left corner, select a hand style that matches your video’s theme, and click save.
4 – Add Audio to Your Video.
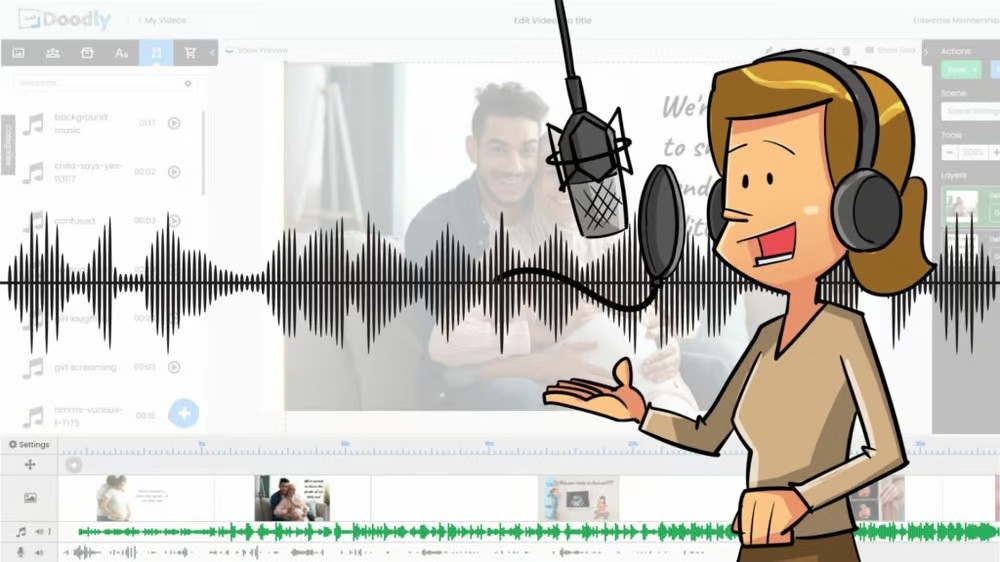
To make your presentation lively and fun, don’t forget to add some background music or a voiceover. If you’re using a voice recording, make sure to time your animations accordingly. If you opt for background music, choose a cute or bubbly tune that sets the right tone.
If you want to include both a voiceover and background music, adjust the volume to ensure the voiceover remains audible. Click the speaker icon on the lower-left corner to adjust the balance.
5 – Fine-tune Your Timing.
You’re almost done! Now it’s time to perfect your timing using the Extra Time, Delay, and Duration features.
Extra Time is a handy tool that lets you add extra seconds to the end of your video. This can be useful when you need to align transitions with voiceovers or background music. Simply access the Scene Settings, located on the black action column on the right side of the screen, and add the desired amount of extra time.
By adjusting your timing, you’ll have full control over the flow and professionalism of your video presentation.
Animation Enhancement: The Power of Delay
When it comes to adding depth and meaning to your animations or images, delay is the name of the game. By strategically pausing before revealing text or characters, you can create anticipation and suspense that truly engages and captivates your audience. Find out how to harness the magic of delay and take your animations to the next level!
To add a delay, it’s as simple as a click and a few seconds adjustment. Just select the asset you want to work with, head to the Layers menu, and increase the delay seconds. This determines how long your animation or image will stay hidden before making its grand entrance. Remember, the delay time is measured in seconds, so don’t be afraid to play around with different values until you discover the perfect balance. Get ready to unleash the power of delay and leave your audience in awe!
Perfecting Pacing:
Unleash the Potential of Duration
When it comes to creating the perfect flow and pacing for your animation or video, duration is your secret weapon. By controlling how long your assets appear on the screen, you have the power to manipulate the speed and impact of your video. Discover how to leverage duration to its fullest potential and create stunning visuals that leave a lasting impression.
Duration comes in handy when you want to emphasize specific characters or topics in your video. Giving your audience more time to absorb information or appreciate an image can make a world of difference. However, keep in mind that striking the right balance is key. Going overboard with duration can make your video drag on and lose its effectiveness. Master the art of perfect pacing and take your videos from good to extraordinary!
Note: Doodly offers a wide range of options such as entrance and exit animations, erase modes, and scene transitions that can elevate the look and feel of your video. Remember, though, that less is often more. Don’t feel pressured to use every available setting and tool. Stick to what’s essential and relevant to your video to achieve the desired outcome and ensure maximum impact.
Saving and Exporting:
Showcasing Your Masterpiece
Once you’ve put the finishing touches on your masterpiece and couldn’t be happier with the final result, it’s time to save and export your video in the format of your choice. Here’s how to do it: simply click the “Save” button in the upper-right corner of the screen to save your video and then click the “Export” button right next to it to choose the format and settings for your exported video. It’s that easy!
Ready to create something amazing? Let’s get started!
Your Unique Touch:
Unleashing Your Creativity
When it comes to customizing your video, your personal preferences and aesthetic style take center stage. Don’t be afraid to push the boundaries and explore different effects and options to make your video truly stand out. This is your chance to let your creativity run wild and create something extraordinary. Feel free to experiment and make your video a reflection of your unique vision!
That’s a Wrap!
We hope this tutorial has sparked your creativity and confidence to create a spectacular gender reveal video using Doodly. With its user-friendly interface and endless customization options, Doodly makes video editing a breeze. And don’t forget about the valuable resources available to you, like tutorials, a Facebook group, and customer support, should you ever need assistance. So, what are you waiting for? Dive in, create your own gender reveal video today, and make it a celebration to remember!


