Free
How to Add Animation to Video
Animation video can be a powerful tool for engaging your viewers and keeping them captivated by your on-screen content. But if you’re new to animation, it can seem daunting.
But fear not! We’re here to help. In this blog post, we’ve created a video tutorial that will show you exactly how to bring your videos to life with animation.
And if you prefer reading over watching videos, don’t worry. We’ve also included step-by-step instructions with screenshots.
So whether you’re a visual learner or a text-based learner, by the time you finish reading this blog post, you’ll be able to effortlessly add animation to your videos.
First, let’s start with our video tutorial. In this tutorial, Doodler Pamela Dimmick will demonstrate various ways to animate your videos.
And if you’d rather read the instructions, here’s how you can add animation to your videos:
Step 1: Get Doodly
We recommend using Doodly, a user-friendly whiteboard animation software that allows anyone to create professional-looking whiteboard videos. You don’t need any tech or design skills to use it.
To get Doodly, simply click the button below:
Step 2: Create a New Video
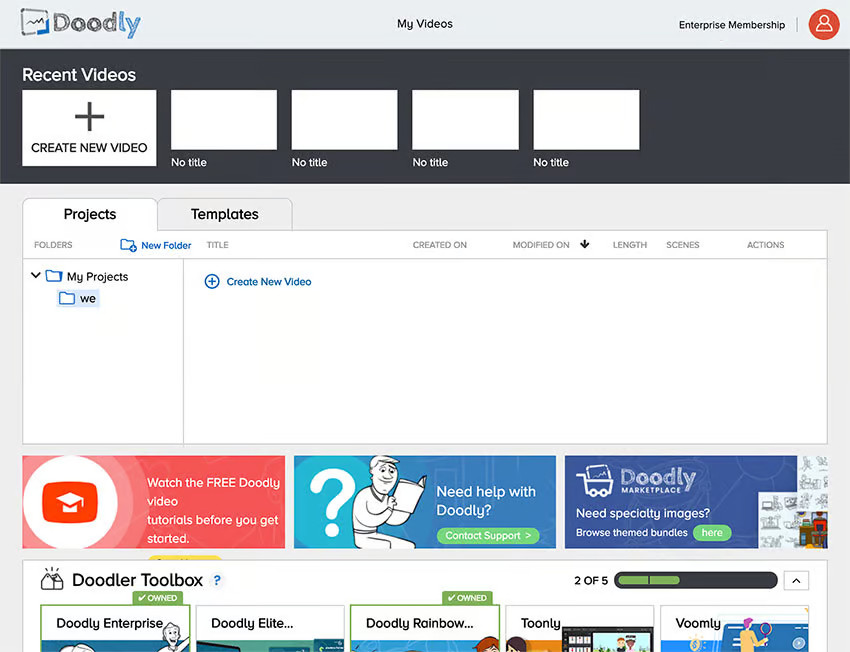
Once you have Doodly open, click on “Create New Video” in the upper left corner. This will bring up a dialogue box where you can choose your video settings and give your video a title. Click “Create” when you’re ready.

Step 3: Add Images, Text, & Audio
Now that you have your video workspace open, it’s time to add images, text, and audio to your video. Doodly provides a vast library of music tracks, fonts, and graphics to choose from, making it easy to create the perfect video. You can also import your own images if you prefer.
Simply browse through Doodly’s library or select your own images, then drag and drop them onto the canvas.
Step 4: Position the Object You Want to Animate
In this example, let’s say you want to animate a robot character. You can resize the character and position it on the canvas where you want it to appear when the animation begins.
Step 5: Change the Settings
To ensure a smooth animation, you’ll need to adjust the Delay, Duration, and Scene settings in Doodly. This will remove the hand-drawn effect and make sure the transitions between scenes look seamless.
Step 6: Duplicate the Scene
Once you’ve customized your settings, duplicate the scene to create multiple frames for your animation. This will allow your robot character to move and grow across the screen.
Step 7: Adjust the Graphic
In each duplicated scene, make small adjustments to the position and size of the robot character. This will create the illusion of movement and growth as the animation progresses.
Step 8: Making the Robot Grow!
Let’s make our robot look even cooler by creating a series of frames where it grows while flying across the screen. We’ll do this by duplicating our last scene, resizing the robot, and moving it further to the right.
Duplicate, resize, duplicate, resize – we’ll keep doing this until we’ve created our final animation frame.
Take a look at the screenshots below to see the robot’s progression in two of the scenes.
Step 9: Get a Sneak Peek!
Congratulations, you’ve successfully animated your image! Now, if you’re curious to see how your final video will look, just click the Preview button in the upper right corner of your Doodly screen.
Step 10: Time to Export!
Once you’re happy with your animation, it’s time to export your video. In Doodly, you have various options for exporting your whiteboard video, from web-ready resolutions to full HD 1080p.
Just click the Export button in Doodly, choose your desired file type, resolution, and quality.
And that’s it! You’ve learned how to create a video with a cool animated object that moves across the screen and gets bigger. Impressive, right?
If you want to see the video we created as an example, check out our animated robot right here:
Link: https://drive.google.com/drive/folders/1sMcQCl8Vo0EsgueTKrlt1YS7DZZnG0-N
Looking for more creative ways to use animation in your videos? Check out our video tutorial at the beginning of this blog post.
At the 24-second mark, Pamela explains how to use animation between scene transitions, and at 3:06 in the video, she’ll show you how to animate part of a character’s body. For example, you can make the robot’s antenna wag back and forth.
Animating your videos is easy!
Now that you know how simple it is to animate a video, why not give it a try? Adding animation will make your videos much more interesting and engaging, which is bound to impress your target audience. Go ahead and unleash your creativity!


