
Free
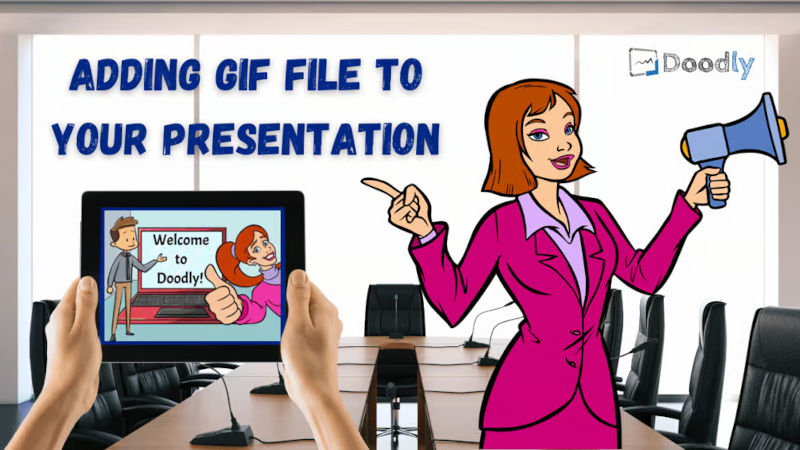
Adding GIF File To Your Presentation
We all love the drawing effect in Doodly, but what if you want your objects to move after they’re drawn? Imagine gears turning or a clock with a time-ticking vibe. Exciting, right?
Well, the good news is that Doodly now supports importing GIF files into your videos. In this blog, we’ll explore the possibilities of using GIFs in your Doodly animations. We’ll discuss their limitations, pros and cons, and even show you how to convert a video into a GIF file.
But first, let’s start with the basics: What exactly is a GIF file?
GIF, short for Graphics Interchange Format, is a familiar sight on the internet. Remember the iconic dancing baby from the 90s?
A GIF file is essentially an animated element made up of a series of still images that loop continuously. Since they’re 8-bit graphics and support only 256 colors, they tend to have lower quality. So, when using GIFs in Doodly, it’s best to consider them as accents, rather than the main attraction.
Hey there! Did you know that GIFs have become a super popular way to express ourselves in memes?
Why Should You Add GIFs?
GIFs can truly enhance your videos in many ways. Here’s why some Doodlers love using GIFs:
1. They make your video more engaging and captivating.
2. They help draw attention to reinforce your ideas and concepts.
3. GIFs bring whiteboard videos to life, adding a dynamic touch.
4. They add that extra visual effect, making your video more visually appealing.
Now, let’s explore how to incorporate a GIF file into a scene in Doodly.
Imagine a scene with a police officer sitting at a desk, with a clock hanging on the wall behind her. Our goal is to convey a sense of time passing. However, if we preview this scene as it is, you’ll notice that the only animation is the hand drawing the elements.
Hey there! We’ve got a cool idea to make the clock actually move. Let’s give it a shot by using a gif clock image. Just upload the gif file like you would any other graphic or asset.
Once you’ve uploaded it, we need to swap out the old clock image with the new gif clock file. And voila! You’ll notice that this time, the clock’s hands start moving right after it’s drawn. Pretty neat, huh?
GIFs are great, but when used in Doodly, there are a few limitations we need to address. Don’t worry though, we’ve got it under control!
One of these limitations involves the erase gesture. You may notice that when you add a GIF and preview your scene, the hand with the eraser appears, as if trying to erase the image before the GIF even shows up. Let’s be honest, who erases before they even start drawing? Not many, so we’ve got a solution for that.
Resolution:
Let’s solve this by going to Video Settings and disabling the Erase Mode.
Issue: Our GIF file appears as a static image in a white box, without showing the animated bubbles. This is because the first frame of the GIF is empty, and the bubbles only appear in the subsequent frames. It can be difficult to work with a GIF that starts blank because you can’t visualize where the animation will appear when you play it.
Resolution:Unfortunately, we can’t change how the GIF is saved. However, you can still preview the GIF and make adjustments in edit mode. It might involve some trial and error, but you’ll be able to fine-tune the animation to your liking.
Non-transparent GIFs can block images:
Issue: GIFs usually don’t support transparency like PNG files. This means that when you add a non-transparent GIF to your Doodly scene, it can cover parts of other images. For example, if you move the GIF image up, it may hide the water line in our example.
Resolution: Unless you transform your GIF into a transparent one, there’s no real fix for this. The best approach is to make small adjustments to your scene and be cautious about where you place the GIF. Pay extra attention if you have small images nearby, as they may get covered up by the GIF in your video.
Scribbling Blank Image
ISSUE: We have turned off the eraser, but the scribble effect is still appearing when there should be nothing there. This happens because the non-transparent gif file is trying to draw the whole box where the bubble should be.
RESOLUTION:
To fix this issue, we need to change the Draw animation to Fade in the Edit Asset settings. Simply click on your gif file, then select the pencil icon located above the gif image. Look for Reveal Mode and choose Fade from the dropdown menu. Don’t forget to save your changes. If you don’t need the fade to last for 3 seconds, you can also adjust the gif’s animation duration to 1 second. In our example, we will move the fish slightly to cover the area where the bubbles appear.
Using Your Video as a GIF File
So how do we actually use a specific video as a gif file? Well, we need to convert it first! Luckily, there are many third-party websites available for video-to-gif conversion. A simple Google search will give you plenty of options to choose from. Just be aware that these sites often have lots of ads and may try to get you to download additional programs, so be cautious when using a conversion service.
Here’s an example of a Doodly project with a gif file:
When using video clips, it’s best to keep them relatively short and set them to loop as your scene plays out. A higher frame rate will result in a smoother animation but will also make the file larger. Play around with the settings until you find the perfect balance that gives you the best output result. And most importantly, don’t forget to have fun!
Introducing a Video-to-GIF Conversion Site!
Want to spice up your Doodly presentation with some awesome graphics? Look no further! GIFs are the perfect addition to make your presentation stand out. Not only do they load quickly, but they also add a touch of movement and emotion that captures your viewers’ attention.
But, like everything, there are pros and cons to consider. One drawback of GIFs is their limited color palette, which can sometimes result in pixelated images. Additionally, if your internet connection is poor, the images may lag and ruin the overall experience.
In conclusion, GIFs can either make or break your presentation, depending on how you use them. They definitely add value, but it’s important to remember that they should be used as accessory, not the main attraction. Too many GIFs can detract from the professional appearance of your presentation. So, use them wisely and keep it simple for a presentation that truly converts! 😄


