
Free
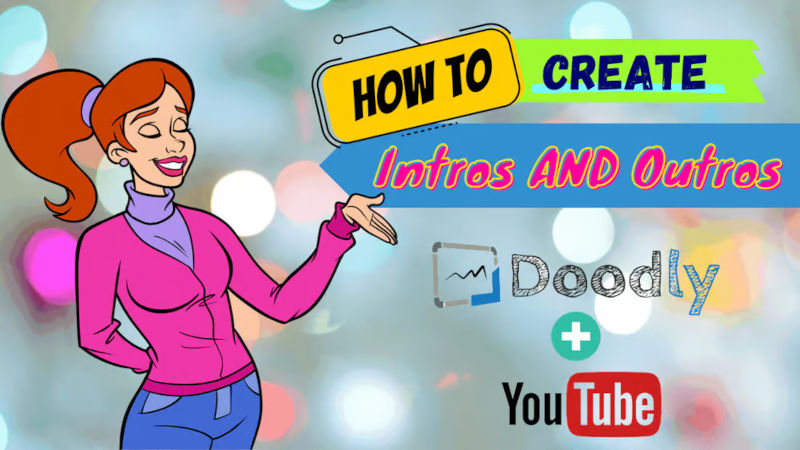
How to Create Intros and Outros
Video marketing is crucial for promoting your products and services. To ensure high viewership, your uploaded video needs to be easy to understand and user-friendly. One key aspect is having a memorable intro that represents your brand.
An intro is the opening of your video, usually a short clip that establishes your identity. It can be animated or simple text, but it should reflect your brand and the video’s title. Consistency is key, so all of your intros should follow the same format.
In addition to the intro, the way your video ends also affects your social media presence. Similar to the intro, your outro should maintain the same format and style. Think of it as the back cover of your video, showcasing your brand once again and suggesting other videos for your viewers to watch. This allows you to end your video in a stylish manner rather than just displaying end credits or “the end.”
In this blog, we will guide you through creating an intro and outro template for your YouTube uploads using Doodly.
Let’s get started with creating your intro:
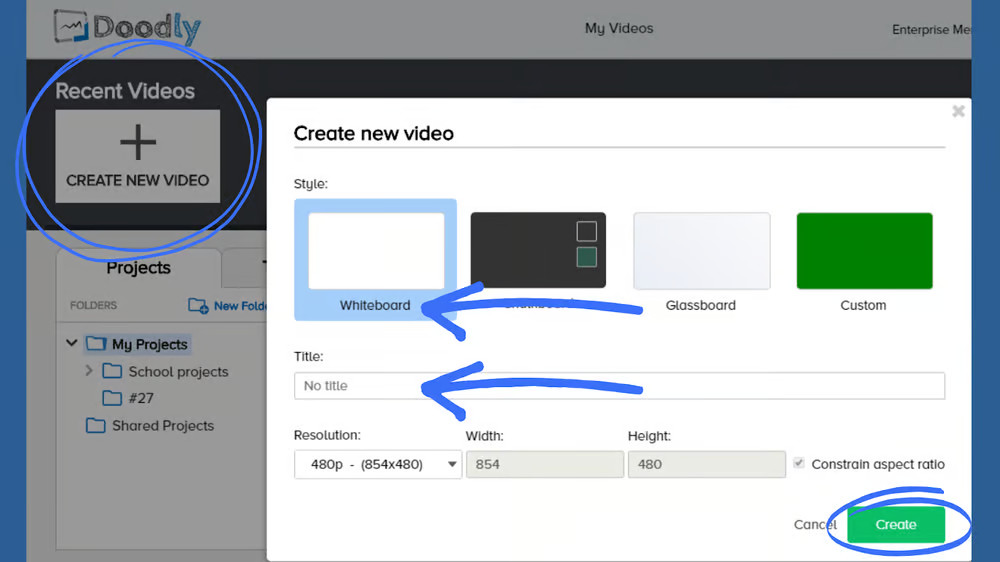
A. Open Doodly and click “Create New Video.”
B. Select Whiteboard as your board style, give it a title, and hit “Create.”
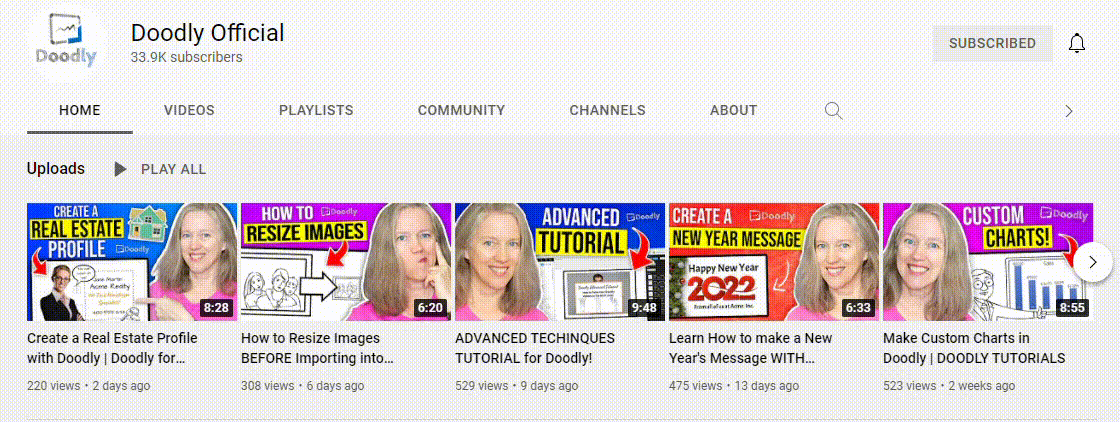
C. Upload your desired image for the intro. Many content creators choose to include a photo of themselves, like we do on our Doodly official page on YouTube. You can find royalty-free images on pixabay.com to add background props and visuals to your Doodly video.
D. Don’t forget to rename your uploaded character for easier navigation in the future. Using a png file is recommended for transparency.
E. Add your video’s title by typing it in or using a speech bubble. You can also enhance the intro scene with additional designs, logos, or background walls.
Adjust the timing of your intro to keep it short and engaging. Viewers may skip a long intro, so reduce the drawing duration of certain objects or rearrange their appearance order.
F. Consider adding a fade-in effect to introduce the objects in your scene smoothly.
Set up camera movement for a dynamic intro by applying pan and zoom effects. This should remain consistent throughout your uploaded videos since this is a template.
Here’s how to enhance your timeline with panning & zooming:
1. Simply click the plus sign to add the desired panning & zooming effect.
2. Adjust the effect to your liking, moving it to the middle if preferred. Feel free to play around with the timing until it’s just right.
3. To create a captivating intro, start with a full-screen view and gradually focus on the speech bubble where the title is being written by hand. Don’t forget to hit “Apply” once you’re satisfied.
4. Keep your audience engaged by adding another pan and zoom effect to return to the full-screen view.
5. Unlock the START option and expand the camera coverage to full screen. Repeat the same for the END point and hit “Apply.”
6. If you want to give the intro more time to shine, consider adding extra time at the end.
Now, let’s take a sneak peek at your intro:
Hey there! Ready to create an awesome outro for your YouTube videos? Let’s get started!
To make things easy, we’ll use an existing outro as a template for our new one. Here’s what you need to do:
A. Take a screenshot of an existing outro on YouTube.
B. Upload it in Doodly.
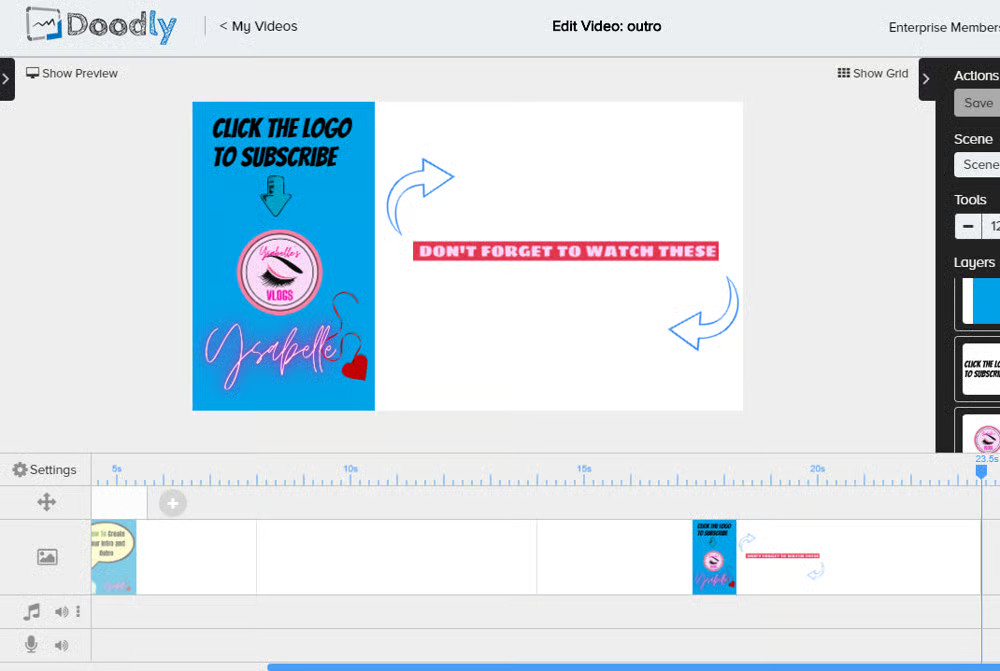
C. Add two blank scenes.
The last scene will be where we put the outro, while the middle scene is left blank for your video content. Since this is a template, we won’t add anything to the middle scene.
D. Recreate the outro by adding texts and props on top of each asset on the template.
If you can’t find the exact asset you need, don’t worry! You can import custom ones into Doodly. We also have a variety of great fonts to choose from. If you have a specific font in mind, you can download it from Google Fonts and import it into Doodly. Leave the two video fields blank for now. We’ll add the suggested videos later on YouTube.
E. Remove the template.
Once you’ve added all the elements to your template, simply remove the original template from your scene. You can adjust the order and animations of the assets as needed.
Now, let’s talk about using the template.
When you’re ready to create your YouTube video, duplicate the template and make any necessary modifications to the duplicate version of the intro and outro. To do this, go back to the main screen of Doodly, locate the template, right-click, and select Duplicate. Don’t forget to give the copy a new name.
After renaming the file, you can start working on the blank scene we added between the intro and outro. If you need more blank scenes, just right-click on the middle scene and select Insert.
You can also add music to your video if you’d like.
All set? Great! Now let’s upload your video to YouTube.
Here’s how you can set up the outro:
1. Log in to YouTube and click on the video icon with a “plus” sign to upload your video.
2. Set up your video’s title and add a thumbnail if you want. Fill in any other details and click NEXT.
3. Click ADD to apply an end screen or outro.
4. Select the first box with two rectangles, or use the Element option to add video links in your video.
5. Move the playhead to the end of your video to ensure the two video fields fit your outro perfectly. Click SAVE, and click NEXT whenever prompted.
6. Choose whether you want your video to be private, unlisted, or public. Click SAVE when you’re done.
And voila! You’ve successfully created and uploaded your outro. Take a look at your video and enjoy the results.
Thanks for joining us in this video intro and outro creation tutorial. Keep an eye out for more exciting Doodly articles. Until next time! 🙂


