Free
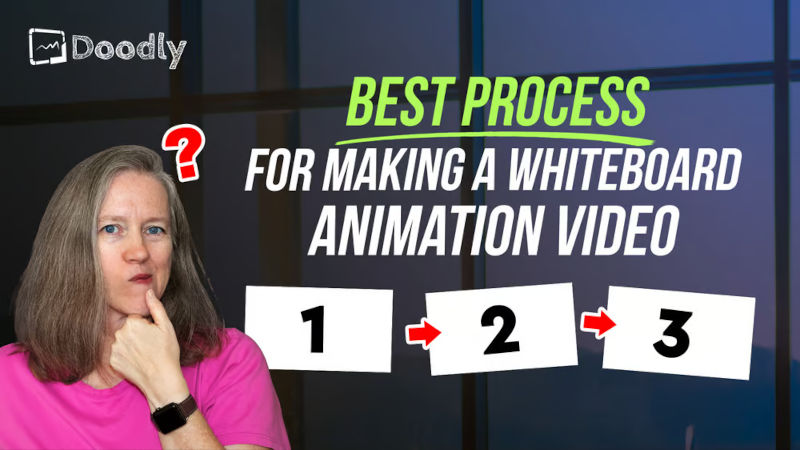
Best Process for Making a Whiteboard Animation Video?
Looking to create a whiteboard animation video? Don’t worry, we’ve got you covered! In this blog post, we’ll walk you through the exact process for creating an amazing whiteboard animation video step by step.
Step 1: Brainstorm Your Objectives
Before you dive into making your video, take some time to consider what you hope to achieve with it. Are you looking to generate leads, raise money for a nonprofit, or drive sales? By defining your goals, you’ll have a clear focus for your video and be able to evaluate its success.
It’s also important to think about your target audience. What are their hopes, dreams, and fears? Where are they in the buying process? By understanding your audience’s needs and desires, you can tailor your video to resonate with them.
Step 2: Craft Your Script
While a video script isn’t necessary for a whiteboard animation, adding a voiceover can enhance your video’s message and professionalism. If you decide to use a script, this is the stage where you’ll start writing.
Stick to a Proven Formula
There are many ways to write a video script, but we’ll focus on a popular formula used in whiteboard videos:
Present the Problem:
Begin by identifying a problem that your customers face. This captures attention and sets the stage for your solution.
Introduce Your Solution:
Now it’s time to reveal your product or service as the solution to the problem. Make sure to mention the name of your offering at least twice for brand recall.
Highlight the Benefits:
Explain the benefits that your solution provides. Focus on how it improves your customers’ lives and solves their pain points.
Call-to-Action:
End your video with a strong and direct call-to-action. Tell viewers exactly what action they should take, such as visiting a website or downloading an app.
By following this formula, you can create a compelling and effective video script that engages your audience and drives action.
Step 3: Bring Your Story to Life with a Storyboard
Now it’s time to put pen to paper and visualize how your animated video will unfold. Creating a storyboard may seem like a tedious task, but trust us, it’s a crucial step you don’t want to skip.
Storyboarding helps you find the perfect balance between your script and the visuals. It allows you to see if a scene has too many words or if another scene needs more oomph. By planning ahead, you can ensure your video flows seamlessly before investing time, money, and effort into production.
Not only does storyboarding help with pacing, but it also keeps you organized and focused on achieving your desired results. Without a storyboard, you risk creating a video that falls short and forces you to start all over again.
If you’re working with a team, a storyboard becomes even more essential. It gives your teammates a clear understanding of your vision, helping them get on board and contribute their expertise.
Yes, storyboarding takes a bit of time, but trust us, it’s worth it. It saves you from future headaches and ensures your video is a work of art right from the start. So, how do you get started?
Step 4: Give Your Video a Captivating Voiceover
When it comes to adding a voiceover to your video, you have three options to choose from:
1. Record it Yourself:
If you’re on a tight budget, this is the most cost-effective option. However, keep in mind that recording a professional-sounding voiceover takes skill. If you’re not confident in your abilities, your video may not come across as polished or engaging.
2. Hire a Voice Actor:
If you want to inject personality and emotion into your video, hiring a professional voice actor is the way to go. They know how to bring your script to life and captivate your audience. Just be aware that this option can be pricey.
3. Use Text-to-Speech Software:
This option is more affordable and convenient. Text-to-speech software allows you to simply type or paste your text, choose a voice, and voila! You have a professional-sounding voiceover. While it may not be as realistic as a human voice, it has come a long way in terms of quality.
Step 5: Gathering Graphics & Audio (Optional)
Now it’s time to bring everything together for your video. While Doodly has an extensive library of music, characters, scenes, props, and fonts, there may be specific graphics you want to include, such as your brand logo.
During this step, determine if there are any additional graphics you need and either work with a graphic designer or find them on a photo-sharing site online.
You may also want to consider adding music or sound effects to your video. Doodly provides a wide selection of 150-250 audio files, depending on your membership, so you may not need to find your own. But it’s something to keep in mind as you go through the process.
Step 6: Creating Your Whiteboard Animation Video with Doodly
With Doodly, anyone can create an impressive whiteboard animation video, even if you’ve never made one before! The software is designed to be user-friendly, so you can quickly get the hang of it, even without video production or editing skills.
Simply choose from Doodly’s ready-made scenes, add your voiceover and any custom graphics, drag-and-drop characters into your chosen scenes, and make adjustments until everything looks just right. Ta-da, you’re done!
It’s really that easy, but if you encounter any issues, don’t worry. There are plenty of resources available to help you out.
You can watch our Doodly tutorials, explore the Doodly Knowledge Base, submit a support ticket to the Doodly help desk, chat live with the Doodly team, or join our active Doodly Design Group on Facebook to ask questions.
In Conclusion
By following our step-by-step process, you’ll find that creating your first whiteboard animation video has never been easier… and even enjoyable!
And the results? You’re going to love them. Time and time again, whiteboard animation videos have proven to be incredibly effective for educating, entertaining, and converting your audience.
So, don’t wait any longer—start “Doodling” today!
Posted in Features, Whiteboard Animation, Whiteboard Animation Software, Whiteboard Animation Videos


